
基础知识
express是一个nodejs框架
如下图,express其实封装了原生写法的http等等nodejs的模块,
只是原生的http模块用来写req、res有很多要处理的功能,
express封装了很多功能到req、res中,用起来更加方便。
因此express与nodejs的关系 就好比 jquery 与 js 的关系。
因此可以认为express就是一个nodejs框架。
express是对http等的封装
参考上面《express是一个nodejs框架》
一个url被web渲染经历了什么
url 通过dns域名解析,
找到目标服务器(进入目标服务器);
服务器通过服务器路由对这个url请求做出相应;
服务器路由是处理请求接口如何响应的规则。
uri
通俗的讲,一个完整的url中,除了域名和端口的部分,剩下的就是uri,可以用uri唯一标识资源。如下:https://blog.csdn.net/qq_32595453/article/details/79516787;
上面的uri就是 /qq_32595453/article/details/79516787;
express
all API的用法
匹配所有的请求类型
1 | app.all('/demo',(req, res)=>{}) |
匹配所有的uri
使用*来匹配所有的uri,常用的场景有打印请求日志 等等。1
app.all('*',(req, res)=>{})
app.use 中间件的使用
匹配所有的请求类型
use一般用于中间件的集成,不过也可以用来做路由的定义,可以轻松实现上面的功能:1
2
3
4
5
6
7
8app.use('/demo',(req,res)=>{
res.json({
msg:'test get use'
})
})
//与下面等效:
app.all('/demo',(req, res)=>{})
匹配所有的uri
1 | app.use((req,res)=>{ |
注意:一般不做请求的响应
app.use一般不做上面的《匹配所有的请求类型》《匹配所有的uri》接口编写。
一般用于中间件的使用,也可以用来做路由的拆分。
路由拆分(express.Router)
由于内容较多,拆成独立一节,参考《路由拆分(express.Router)》
路由拆分(express.Router)
基本用法(单个)
1 | //app.router.js |
1 | const express = require('express') ; |
多个路由
在上面单个路由的基础上,增加一个路由,写法与第一个路由一摸一样,此时会遇到一个问题,当发http://127.0.0.1:3000/list请求时,
只能被第一个appRouter截取,moreRouter无法获得。1
2
3
4
5
6
7
8
9
10
11//app.moreRouter.js
const express = require('express') ;
const router = express.Router();
router.get('/list',(req,res)=>{
res.json({
msg:'test router'
})
})
module.exports = router;
1 | const express = require('express') ; |
为了解决上面的问题,在app.use上定义路由,其他不变:1
2
3
4
5
6
7
8const express = require('express') ;
const appRouter = require('./app.router') ; //app.router.js
const moreRouter = require('./app.moreRouter') ; //app.moreRouter.js
const app = express();
app.use('/main',appRouter) //http://127.0.0.1:3000/main/list
app.use('/more',moreRouter) //http://127.0.0.1:3000/more/list
app.listen(3000, ()=>console.log('please open 3000 port'))
路由文件内再拆分(router.use)
如上面的app.moreRouter.js内,可以使用router.use再进行嵌套拆分,不过一般不推荐这种多层嵌套的做法。
就像数据追求扁平化一样,路由设计也不要追求深层嵌套。1
2
3
4
5
6
7
8
9
10
11
12
13//app.moreRouter.js
const express = require('express') ;
const router = express.Router();
router.get('/list',(req,res)=>{
res.json({
msg:'test router'
})
})
//可以再进行路由拆分
router.use(......)
module.exports = router;
会不会同时被多个路由响应
概述
如下,如果写一个url:http://127.0.0.1:3000/test;
会被下面两个路由同时捕获吗?
实际上只会被第一个 all 捕获,第二个路由不会被捕获,究其原因是在第一个路由上使用了res.json.
如果没有res,且使用next就会被第二个路由捕获。
由此可看出,res.json和next都相当于return,如果使用res.json 那么后面代码就不执行。next以此类推。1
2
3
4
5
6
7
8
9
10
11
12
13//http://127.0.0.1:3000/test 被匹配
app.all('*', (req,res, next)=>{
res.json({
msg:'test all '
})
})
//因为上面已经 res.json 因此这里 http://127.0.0.1:3000/test 不被匹配
app.get('/test', (req,res, next)=>{
res.json({
msg:'test 11 '
})
})
配合next可被多个路由匹配
下面路由中,第一个用于打印日志,第二个用于真正接口的响应。1
2
3
4
5
6
7
8
9
10
11
12//http://127.0.0.1:3000/test 被匹配
app.all('*', (req,res, next)=>{
console.log('打印日志', req.originalUrl)
next()
})
//因为上面使用next 这里 http://127.0.0.1:3000/test 被匹配
app.get('/test', (req,res, next)=>{
res.json({
msg:'test 11 '
})
})
只会被一个路由响应
通过《概述》的例子看出,当任意一个路由使用了res.json来响应后,接口处理程序将终止,不会被第二个路由匹配到。
因此只会被一个路由响应。
res.json、next相当于return
参考上面《概述》
中间件
自定义中间件
valid_name_middleware 就是一个中间件。1
2
3
4
5
6
7
8
9
10
11
12
13
14
15
16const valid_name_middleware = (req, res, next)=>{
const {name} = req.query;
if(!name ||!name.length){
res.json({msg:'缺少name参数'})
}else{
next();
}
}
app.all('*', valid_name_middleware)
app.get('/test', (req,res, next)=>{
res.json({
msg:'test '
})
})
使用场景或级别
- app级别
- router级别
- 异常处理(其实也可能是app或router级别)
app级别
注册的时候,一定是最顶级,在express实例时就进行。
使用方式是,使用app.use来集成。1
2
3
4
5
6const app = express();
const log_mid = (req, res, next)=>{
console.log('请求来了')
next();
}
app.use(log_mid)
express内置了很多app级别的中间件,比如 static:1
2
3
4
5const app = express();
//指定index.html放在static目录下:express-router/static/index.html
app.use(express.static('static',{
extensions:['html', 'htm']
}))
router级别
第一种情况与 app级别用法一样:1
2
3
4
5
6const router = express.Router();
const log_mid = (req, res, next)=>{
console.log('请求来了')
next();
}
router.use(log_mid)
这里要讲 路由内部中间件的使用。
下面是给登陆接口写两个校验参数的中间件:
访问http://127.0.0.1:3000/main/login?password=2&id=21
2
3
4
5
6
7
8
9
10
11
12
13
14
15
16
17
18
19
20
21
22
23
24
25
26
27
28//app.js
app.use('/main',appRouter)
//router.js
const router = express.Router();
const valid_pwd = (req, res, next)=>{
const {password} = req.query;
if(!password ||!password.length){
res.json({msg:'缺少密码参数'})
}else{
next();
}
}
const valid_id = (req, res, next)=>{
const {id} = req.query;
if(!id ||!id.length){
res.json({msg:'缺少user id参数'})
}else{
next();
}
}
//主要利用路由级别内的路由函数,第二个参数可以是定义一系列中间件的
router.get('/login',[valid_pwd, valid_id],(req,res)=>{
res.json({
msg:'登陆成功'
})
})
中间件传递数据给路由
给req任意定义一个属性来保存数据,到下一步路由时,凭借此属性拿取数据。1
2
3
4
5
6
7
8
9
10
11
12
13
14
15
16
17const valid_id = (req, res, next)=>{
const {id, password} = req.query;
if(!id ||!id.length){
res.json({msg:'缺少user id参数'})
}else{
//给req任意定义一个属性来保存数据
req.midCustom = {id, password}
next();
}
}
router.get('/login',[valid_pwd, valid_id],(req,res)=>{
res.json({
user:req.midCustom,//凭借midCustom属性拿取数据
msg:'登陆成功'
})
})
异常处理
根据回调的传参个数判定操作类别
四个传参的回调函数被自动识别为异常处理函数。
express框架层面应该做了识别处理,
如果你给app.use传递一个有四个传参 的回调函数,那么express认为此回调函数是错误处理函数,那么回调函数传参依次为 :err,req, res, next;
如果你给app.use传递一个有三个传参的回调函数,那么express认为此回调函数是错误处理函数,那么回调函数传参依次为 :req, res, next1
2
3
4
5
6
7
8
9
10
11
12
13
14
15
16const errorHandle = (err,req, res, next)=>{
if(err){
const {message}= err;
res.status(500)
.json({
message:`${message || '请求异常'}`
})
}
}
const matchAll = (req,res)=>{
res.json({
msg:'test all use'
})
}
app.use(matchAll)
app.use(errorHandle)
异常处理放置最后
异常处理一般放在所有路由或中间件的最后取定义。
404 not found处理
在路由的最后位置:1
2
3
4
5
6
7
8
9
10
11
12
13
14
15
16const errorHandle = (err,req, res, next)=>{
if(err){
const {message}= err;
res.status(500)
.json({
message:`${message || '请求异常'}`
})
}
}
const notfound = (req,res)=>{
res.json({
msg:'请求的接口不存在'//404
})
}
app.use(notfound)
app.use(errorHandle)
接口返回一个静态文件
不指定路由
1 | app.use(express.static(path.resolve(__dirname, 'public'))) |
指定路由
1 | app.use('/pub',express.static(path.resolve(__dirname, 'public'))) |
demo
异常处理、模型表数据修改 demo
也可参考 《sequelize集成使用》 章节的demo和参考
sequlize集成使用
sequelize-cli初始化工程
1 | npx sequelize-cli init |
修改 文件如下:1
2
3
4
5
6
7
8//config.json
"development": {
"username": "root",
"password": "root1111",
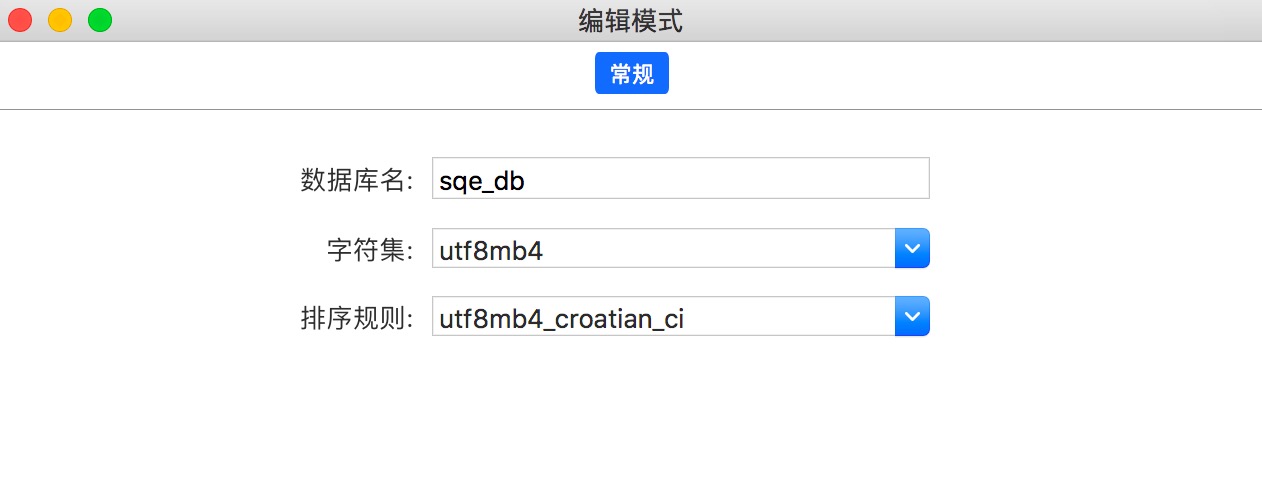
"database": "sqe_db",
"host": "127.0.0.1",
"dialect": "mysql"
},
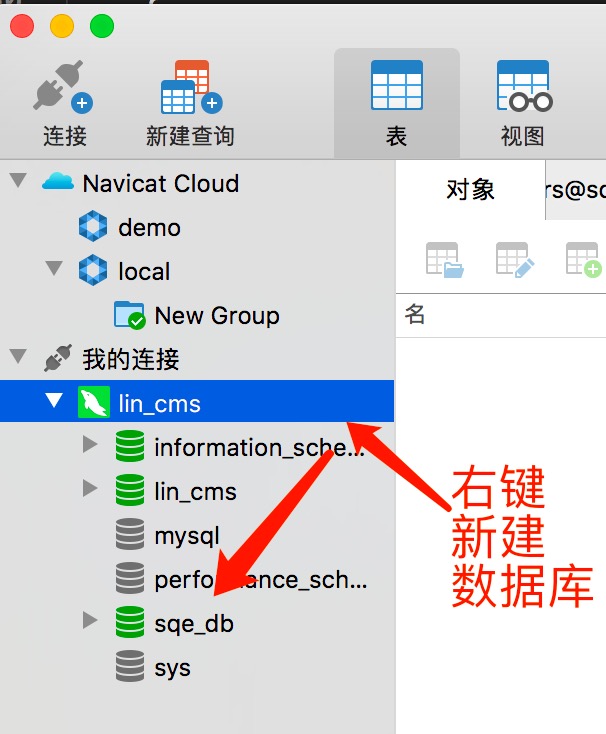
新建数据库
sequelize-cli创建模型
1 | npx sequelize-cli model:generate --name User --attributes name:string |
命令会做以下事情:
- 生成 migrate文件 : 在 models 文件夹中创建了一个 user 模型文件;
- 生成 model文件 :在 migrations 文件夹中创建了一个名字像 XXXXXXXXXXXXXX-create-user.js 的迁移文件.
将刚才的模型添加到数据库中(生成表)
1
npx sequelize-cli db:migrate
一般命令后要设置env,如果不设置则默认使用development。与下面命令等效:1
npx sequelize-cli db:migrate --env=development
这里的development就是sequelize-demo/config/config.json的:1
2
3
4
5
6
7
8
9
10
11
12
13
14
15{
"development": {
"username": "root",
"password": "root1111",
"database": "sqe_db",
"host": "127.0.0.1",
"dialect": "mysql"
},
"test": {
...
},
"production": {
...
}
}
将模型添加到数据库后,你就会在数据库中看到模型中添加的表(模型生产的)
至此,桥接数据库,通过sequelize在数据库中建表的工作完成,下一步就是使用express操作数据库。
使用express操作数据库
1 | const express = require('express') ; |
mysql2
如下,node应用通过orm来操作 mysql数据库,必须借助node环境下的mysql驱动,而这个驱动就是mysql2.1
node-application -- ORM(sequelize) --> 驱动(node-mysql 其实就是mysql2) --> mysql db
demo与参考
demo
也可参考本文其他章节的相关demo。
本节视频参考
sequelize migrations